How to store drinking water safely at home: amounts, containers, rotation, and common mistakes.
Why water is the number one priority
Of all the things you can do to prepare your household for an emergency, storing water is the single most impactful step. Food you can go without for days — it's uncomfortable, but survivable. Water is a different story. Within hours of not drinking, you'll start feeling the effects: headaches, fatigue, difficulty concentrating. After a day or two, the situation becomes genuinely dangerous, especially for children, the elderly, and anyone with health conditions.
Most of us take tap water completely for granted. It's always there when we turn the handle. But a burst main, a contamination event, or a prolonged power outage (which can knock out pumping stations) can cut that supply without warning. When it happens, shops sell out of bottled water within hours. Having your own supply at home means you don't have to compete for it, and you can focus on everything else that needs your attention.
The good news is that storing water is one of the easiest and cheapest preparedness steps you can take. You don't need special equipment, and it takes very little space relative to its importance.
How much water should you keep?
The standard recommendation is 2–3 liters per person per day for drinking and basic cooking. That's the minimum to stay healthy and functional. Norwegian authorities recommend that every household should be able to manage for at least one week without outside help, so for a family of four, you're looking at roughly 56–84 liters as a baseline.
That number can feel large, but remember you don't need one massive container — several smaller ones distributed around the home add up quickly. And consider that the 2–3 liters per person covers drinking and cooking only. If you want water for basic hygiene — brushing teeth, washing hands, cleaning a wound — you'll want to add another liter or two per person per day. Households with pets should account for their animals as well; a medium-sized dog needs roughly half a liter per day.
Start wherever feels manageable. Even a three-day supply puts you far ahead of most households. Build from there when you can.
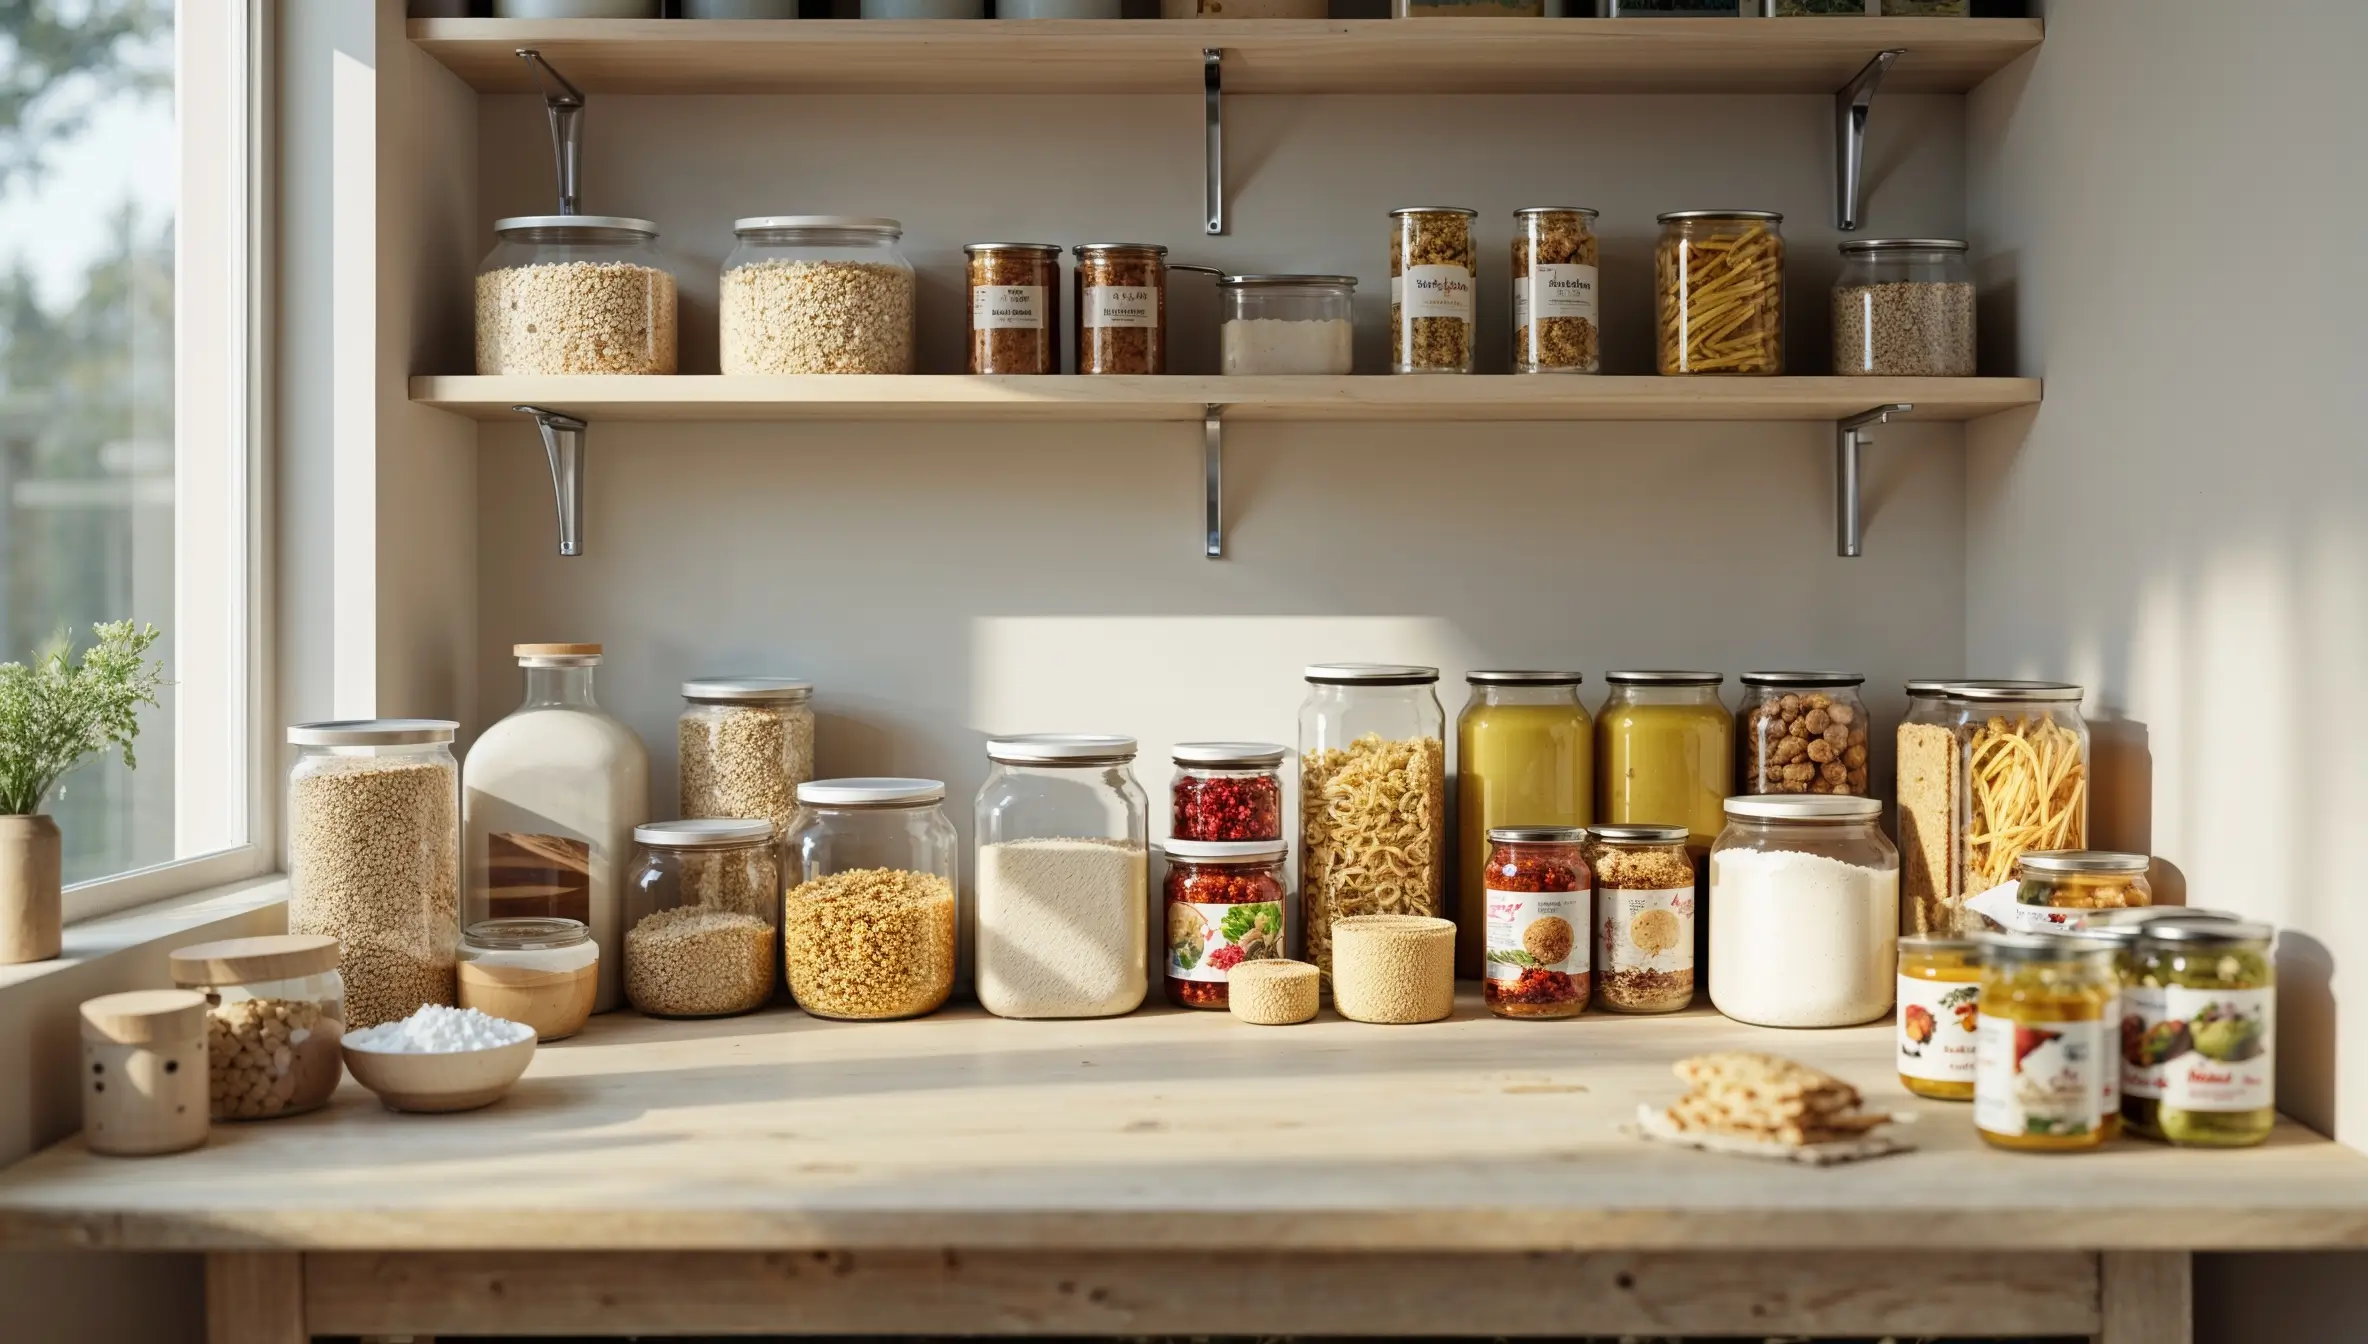
Choosing the right containers
Not every container is suitable for long-term water storage. The key requirements are that the material is food-grade and that the lid seals tightly. Purpose-made water containers from camping or preparedness shops work well, but so do clean juice or soda bottles as long as they originally held a food product.
Several smaller containers are generally better than one large one. A 20-liter jerrycan is heavy and awkward once full, and if it leaks or becomes contaminated, you lose your entire supply in one go. Five-liter bottles or even recycled 1.5-liter soda bottles are easier to carry, pour, and distribute around the house.
Avoid any container that previously held chemicals, cleaning products, or milk — even after thorough rinsing, residues can linger in the plastic. For truly long-term storage, glass containers are worth considering. Glass doesn't transfer taste the way plastic can over months and years, and it's completely inert. The trade-off is weight and breakability.
One clever trick for apartment dwellers: fill small food-grade containers about three-quarters full and freeze them. They serve double duty as backup drinking water and as cold packs that keep your freezer contents colder for longer during a power outage. Just don't fill them all the way — water expands as it freezes and will crack a full container.
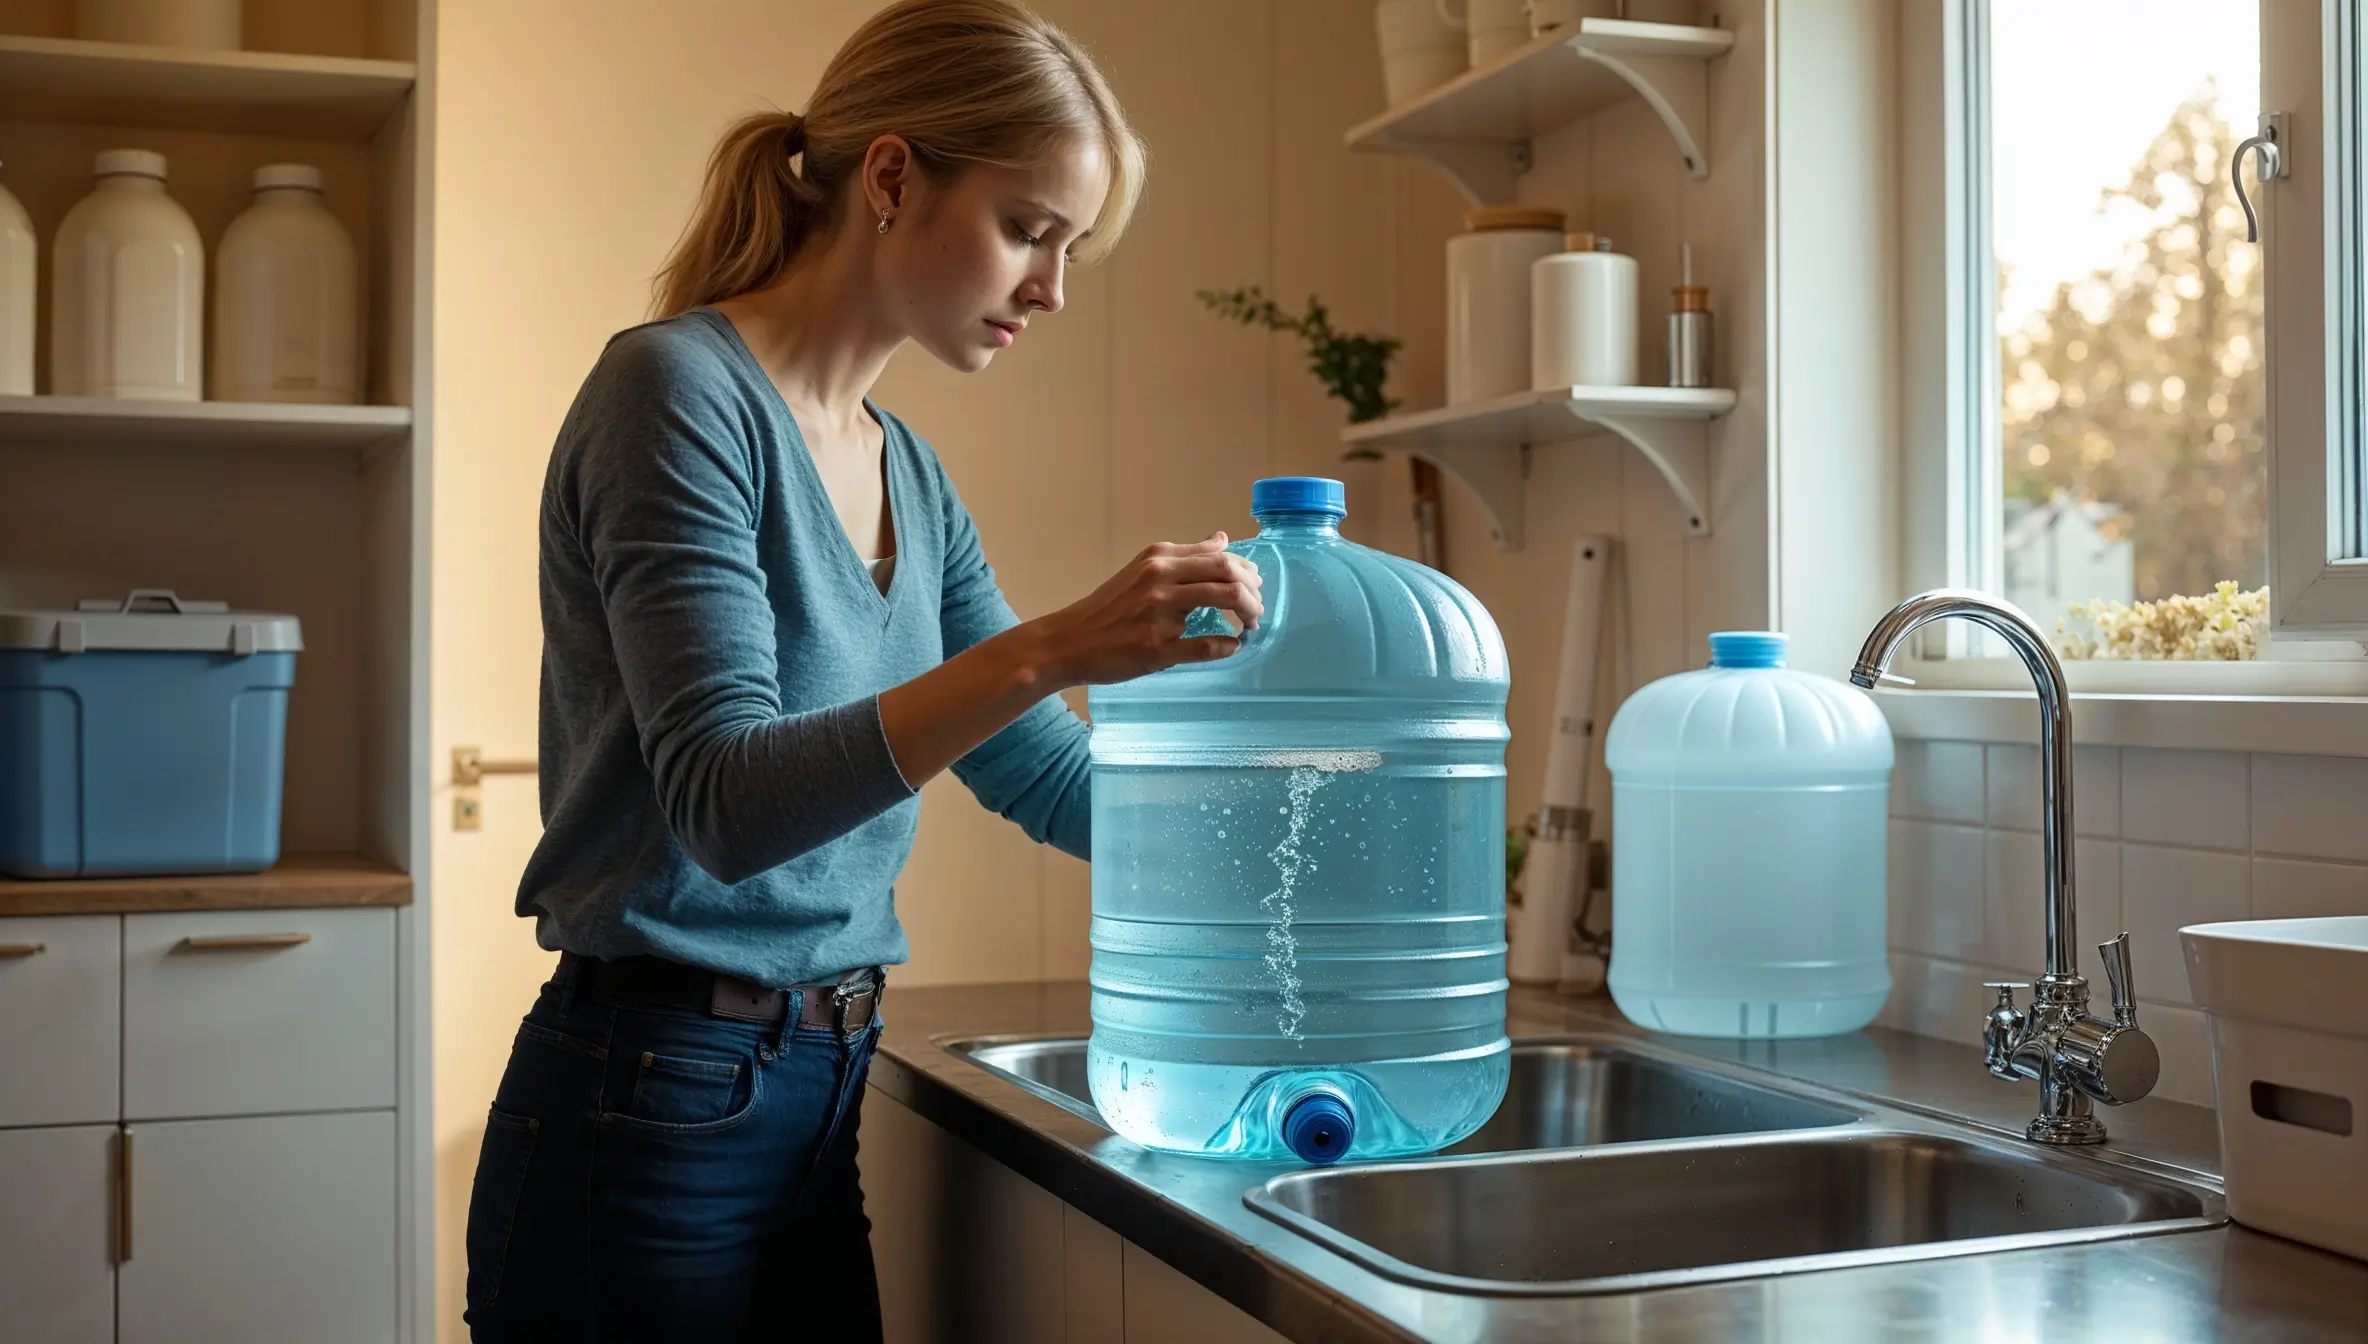
Preparing and filling your containers
Before filling any container for the first time, wash it thoroughly with dish soap and warm water, then rinse until no soap residue remains. For an extra layer of safety, you can sanitize the container by adding roughly two capfuls of unscented household chlorine bleach per 10 liters of water, letting it stand for 30 minutes, then rinsing well.
When it's time to fill, always use cold tap water. Hot water from the tap has typically sat in your water heater and passed through more piping, which can leach small amounts of metals — particularly in older buildings with copper or lead solder. Cold water straight from the mains is fresher and cleaner.
Fill the container to the top to minimize the air pocket (unless you plan to freeze it), seal the lid tightly, and write the fill date on the outside with a marker. That date will make rotation much easier later.
Where and how to store water
Water's biggest enemies in storage are heat, sunlight, and chemical vapors. A dark, cool spot is ideal — a basement storage room, the back of a closet, or under a bed. Avoid placing containers in direct sunlight or near a window, as UV light encourages algae growth and warmth accelerates any bacterial activity.
One detail people often overlook: don't store plastic water containers near household chemicals like paint thinner, petrol, or cleaning solvents. Plastic is slightly porous at a molecular level, and strong chemical vapors can actually migrate through the walls of the container and taint the water inside. Keep at least a couple of meters of distance, or store them in separate rooms entirely.
Properly stored tap water in clean, sealed containers can remain safe to drink for years. The taste may become slightly flat over time as dissolved oxygen escapes, but it's not harmful. For best taste, most guidelines suggest swapping your stored water out once a year. The old water is perfectly good for watering plants, cleaning, or laundry — you're not wasting it.
Apartment living: making it work in small spaces
If you live in a flat without a basement or garage, storing a week's worth of water might sound impossible. It's easier than you think once you get creative with space. Under beds is prime real estate — a few rows of 1.5-liter bottles fit neatly and are completely out of sight. High shelves in closets, the top of kitchen cabinets, and corners behind furniture all work.
The freezer trick mentioned earlier is especially useful in apartments. Frozen water bottles take up space you might not be using anyway, and they give you both a water reserve and improved freezer resilience during outages.
It's also worth raising the topic with your building's management board or housing association. A shared water reserve in the building's common storage area can supplement individual household supplies and spreads the cost and space requirement across all residents. Some Norwegian housing cooperatives have already started doing this as part of broader building preparedness plans.
Common mistakes and how to avoid them
Putting all your water in one large container. If it leaks, tips over, or becomes contaminated, your entire supply is gone. Spread the risk across multiple smaller containers.
Loose or ill-fitting lids. Even a small gap lets in dust, insects, and bacteria over time. If a lid doesn't seal properly, replace the container.
Forgetting to rotate. The easiest fix is to pick one date each year — perhaps when the clocks change — and swap out your stored water. Set a reminder in your calendar or let the Min Beredskap app nudge you.
Using hot tap water. Always fill from the cold tap to avoid metals that dissolve more readily in warm water.
Storing near chemicals. Plastic absorbs vapors. Keep water away from paint, solvents, and cleaning products.
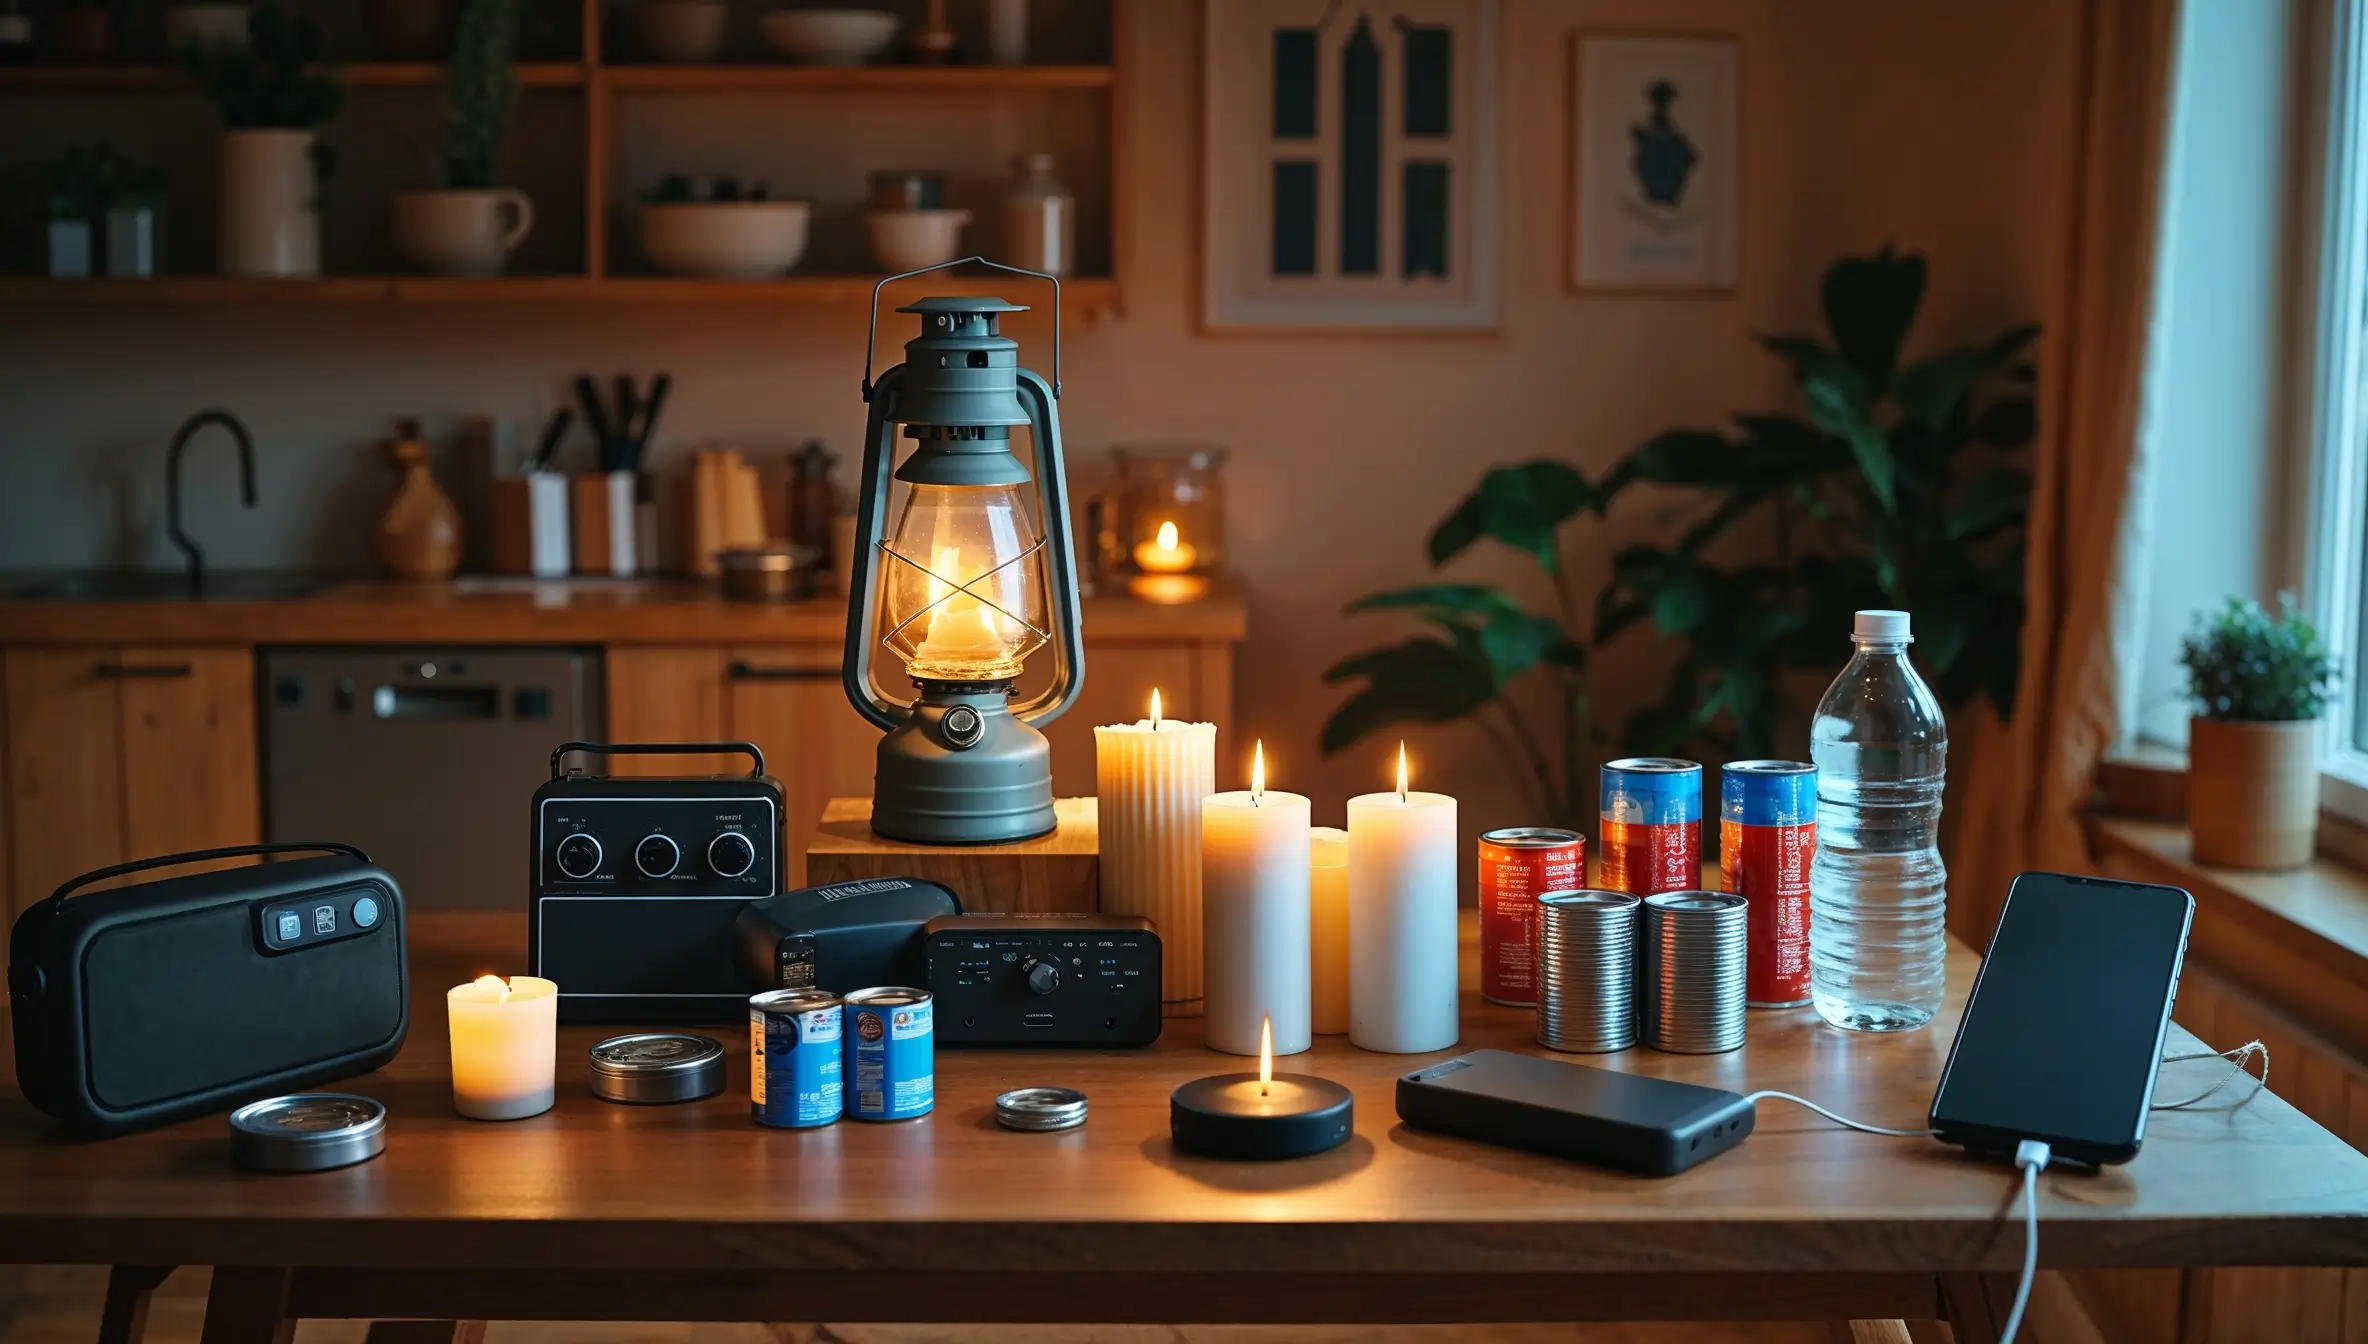
Next step
Once your water supply is sorted, food and warmth typically give the next biggest boost to your household's resilience. Use the Min Beredskap app to track what you have, see where your gaps are, and get clear, prioritized recommendations for what to do next.